
Next.js is a React framework that allows you to create applications that run on both the client and the server, also known as JavaScript end-to-end applications. This framework helps to create end-to-end applications in less time by optimizing basic functions, such as client-side routing and page layout. At the same time, it simplifies advanced functions, such as server-side rendering and code splitting.
Note that with Next.js, each page is represented by a JavaScript file in the pages subdirectory. Each file, instead of having HTML templates, exports a React component that uses Next.js to represent the page, being the default root path.
Next.js also supports pages with dynamic paths. For example, if you create a file called pages/posts/[id].js, then it will be accessible in posts/1, etc. This will be covered in another article with code examples.
By default, Next.js pre-renders each page. This means that Next.js generates the HTML for each page in advance, rather than having everything done by the client-side JavaScript. Pre-rendering can result in better performance and SEO.
Each generated HTML is associated with the minimum JavaScript code required for that page. When the browser loads a page, its JavaScript code is executed and makes the page fully interactive.
On the other hand, the React model allows us to deconstruct a page into a series of components. Many of these components are often reused between pages. For example, you can have the same navigation bar and footer on all pages. This component is a layout and will wrap our application with the basic design we define.
Next, we describe step by step how to create a page and a layout in NextJs:
To begin, we must take as initial code the previously created project (https://github.com/jjosequevedo/product-list). It is important to clarify that this repository is a list of products and what will be done in this article is to add the categories to group them.
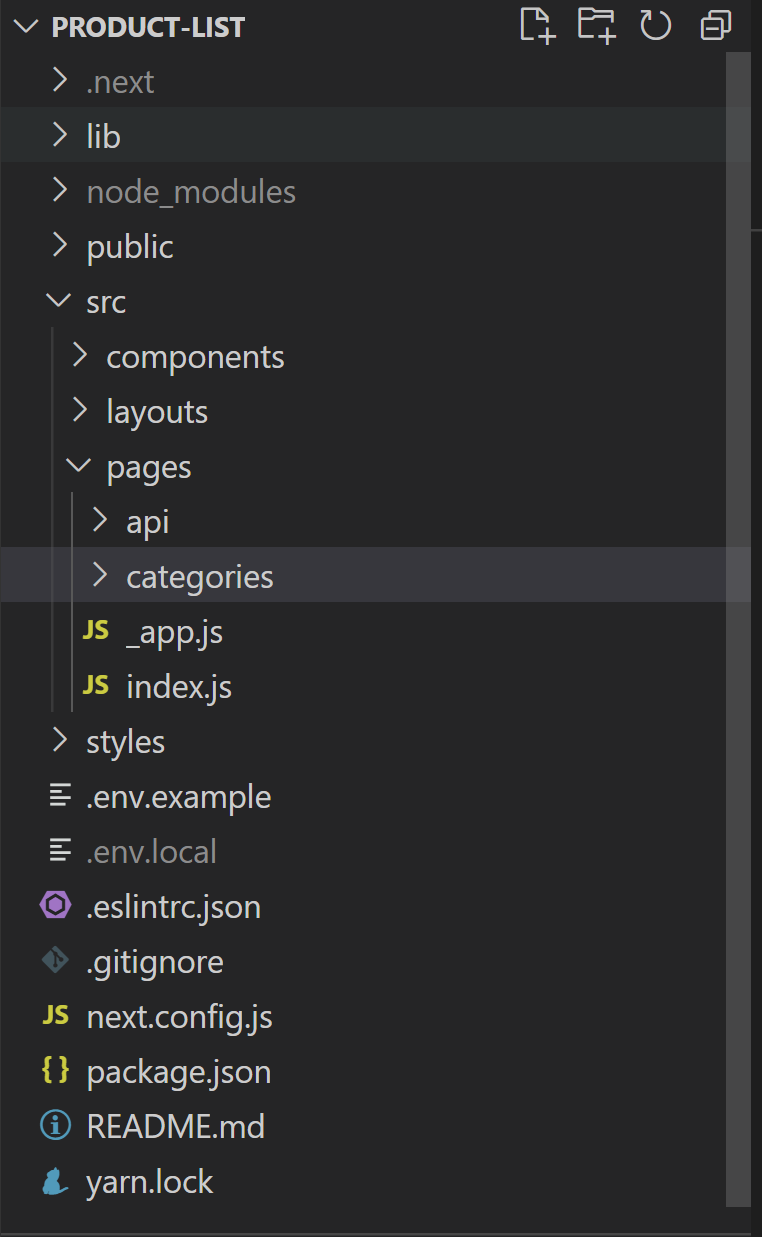
Then we start by creating a directory with the name of categories:
Inside the directory, the index.js file is added with the following code:
import React from 'react';

class Categories extends React.Component {

  render() {
    return (
      <h1>My first page!</h1>
    );
  }
}

export default Categories;
So now we have a new page with the path /categories.
Then, we create 2 new components that will be used in the new page categoryform.js and categorylist.js.
For the first component we must add the following code with which we will be able to create a form to add a new category or to load the data of one already created to edit it:
categoryform.js
import React from 'react';

class CategoryForm extends React.Component {

  constructor(props) {
    super(props);
    this.state = {
      title: 'Add Category',
      _id: '',
      category_name: '',
    };
  }

  // Clear values.
  clearValues = () => {
    this.setState({
      _id: '',
      category_name: ''
    });
  }

  // Update state.
  onChanged = e => {
    this.setState({
      category_name: e.target.value
    });
  };

  // Add a category.
  onAddCategoryAction = e => {
    e.preventDefault();
    if (typeof this.props.onAddFormAction == 'function' && this.isValid()) {
      this.props.onAddFormAction({
        category_name: this.state.category_name
      });
      this.clearValues();
    }
  };

  // Edit a category.
  onEditCategoryAction = e => {
    e.preventDefault();
    if (typeof this.props.onEditFormAction == 'function' && this.isValid()) {
      this.props.onEditFormAction(this.state);
      this.clearValues();
    }
  };

  // Load the values after selecting a category from the list.
  loadValues = category => {
    this.setState({
      _id: category._id,
      category_name: category.category_name
    });
  };

  // Display buttons according to the operation.
  showButtons = () => {
    if (this.state._id != '') {
      return (
        <>
          <button type="submit" className="btn btn-primary" onClick={this.onEditCategoryAction}>Edit</button>
          <a className="btn btn-danger" onClick={this.clearValues}>Cancel</a>

      );
    }
    return (
      <button type="submit" className="btn btn-primary" onClick={this.onAddCategoryAction}>Add</button>
    );
  };

  // Check if the state is valid.
  isValid = () => {
    const isValid = Object.keys(this.state).every(key => {
      if (key != '_id') {
        return this.state[key] != '';
      }
      return true;
    });
    if (!isValid) {
      alert("There are some fields empty!");
    }
    return isValid;
  };

  render() {
    return (
      <div className='card mb-2 mt-2'>
        <div className='card-body'>
          <h5 className="card-title">{this.state.title}</h5>
          <hr className='divider' />
          <form method='post' name='form-category'>
            <div className='row mb-2'>
              <div className="col">
                <input type="text"
                  className="form-control"
                  id="category_name"
                  name="category_name"
                  placeholder='Category name'
                  value={this.state.category_name}
                  required={true}
                  onChange={this.onChanged} />
              </div>
              <div className='col'>
                <div className="d-grid gap-2 d-md-flex">
                  {this.showButtons()}
                </div>
              </div>
            </div>
          </form>
        </div>
      </div>
    );
  }
}

export default CategoryForm;
For the second component the following code must be added, the objective is to list all the categories that have been created so far and will show for each row 2 buttons that will allow editing or deleting a category.
import React from 'react';
/**
 * This is the category list component.
 */
class CategoryList extends React.Component {

  // Action to edit a category.
  onEdit = (e, category) => {
    e.preventDefault();
    if (typeof this.props.onEdit == 'function') {
      this.props.onEdit(category);
    }
  };

  // Action to delete a category.
  onDelete = (e, category) => {
    e.preventDefault();
    if (typeof this.props.onEdit == 'function') {
      this.props.onDelete(category);
    }
  };

  render = () => {
    return (
      <>
        <ul className="nav nav-tabs" role="tablist">
          <li className="nav-item" role="presentation">
            <button className="nav-link active" id="category-list-tab" databstoggle="tab" databstarget="#category-list-tab" type="button" role="tab" aria-controls="category-list-tab" aria-selected="true">Category list</button>
          </li>
        </ul>
        <div className="tab-content">
          <div className="tab-pane fade show active" id="home" role="tabpanel" aria-labelledby="category-list-tab">
            <table className="table">
              <thead className="thead-light">
                <tr>
                  <th scope="col">#</th>
                  <th scope="col">Category name</th>
                  <th scope="col">Action</th>
                </tr>
              </thead>
              <tbody>
                {/* List categorys */}
                {
                  this.props.categories.map((p, i) => {
                    return (
                      <tr key={p._id}>
                        <th scope="row">{i + 1}</th>
                        <td>{p.category_name}</td>
                        <td>
                          <div className="d-grid gap-2 d-md-flex">
                            <button className='btn btn-light' onClick={(e) => this.onEdit(e, p)}>Edit</button>
                            <button className='btn btn-danger' onClick={e => this.onDelete(e, p)}>Delete</button>
                          </div>
                        </td>
                      </tr>
                    );
                  })
                }
              </tbody>
            </table>
          </div>
        </div>

    );
  };
}

export default CategoryList;
Now we must modify the page we have just created to add the 2 new components:
import React from 'react';
import CategoryForm from '../../components/categoryform';
import CategoryList from '../../components/categorylist';

class Categories extends React.Component {

  constructor(props) {
    super(props);
    // Create a category form reference.
    this.categoryForm = React.createRef();
    this.state = {
      categories: []
    };
  }

  // After mounting the component, the list is loaded.
  componentDidMount = () => {
    this.loadList();
  };

  // Load a list of categories.
  loadList = () => {
    fetch('/api/listcategories').then(response => {
      return response.text();
    }).then(value => {
      this.setState({ categories: JSON.parse(value) });
    });
  }

  // Add a new category.
  onAddFormAction = data => {
    const request = {
      method: 'POST',
      headers: { 'Content-Type': 'application/json' },
      body: JSON.stringify(data)
    };
    fetch('/api/addcategory', request)
      .then(response => {
        if (response.status == 200) {
          this.loadList();
        }
      });
  };

  // Edit a selected category.
  onEditFormAction = data => {
    const request = {
      method: 'POST',
      headers: { 'Content-Type': 'application/json' },
      body: JSON.stringify(data)
    };
    fetch('/api/editcategory', request)
      .then(response => {
        if (response.status == 200) {
          this.loadList();
        }
      });
  };

  // Load a selected category into the form.
  onEdit = category => {
    if (typeof this.categoryForm.current.loadValues == 'function') {
      this.categoryForm.current.loadValues(category);
    }
  };

  // Remove a selected category.
  onDelete = category => {
    const request = {
      method: 'DELETE',
      headers: { 'Content-Type': 'application/json' },
      body: JSON.stringify(category)
    };
    fetch('/api/deletecategory', request)
      .then(response => {
        if (response.status == 200) {
          this.loadList();
        }
      });
  };

  render() {
    return (
      <>
        <CategoryForm
          ref={this.categoryForm}
          onAddFormAction={this.onAddFormAction}
          onEditFormAction={this.onEditFormAction} />
        <CategoryList
          categories={this.state.categories}
          onEdit={this.onEdit}
          onDelete={this.onDelete} />

    );
  }
}

export default Categories;
So that the user can navigate within the site, we will add a layout that allows us to have a side menu to move between pages. Then, we create the layouts directory and add the AdminLayout.js file with the code:
AdminLayout.js
import React from 'react';
import Sidebar from '../components/sidebar';

class AdminLayout extends React.Component {

  render() {
    return (
      <div className='container-fluid'>
        <div className='row'>
          <nav className='col-md-3 col-lg-2 d-md-block bg-light sidebar collapse'>
            <Sidebar />
          </nav>
          <main className='col-md-9 ms-sm-auto col-lg-10 px-md-4'>
            <div className='container'>
              <div className='row'>
                <div className='col'>
                  <div className="card mt-2">
                    <div className="card-header">
                      Product details
                    </div>
                    <div className="card-body">
                      {this.props.children}
                    </div>
                  </div>
                </div>
              </div>
            </div>
          </main>
        </div>
      </div>
    );
  }
}

export default AdminLayout;
So that we can see the layout on the site we will modify the _app.js file and add the following code:
_app.js
import AdminLayout from '../layouts/AdminLayout';

function MyApp({ Component, pageProps }) {
  return (
    <AdminLayout>
      <Component {...pageProps} />
    </AdminLayout>
  );
}

export default MyApp;
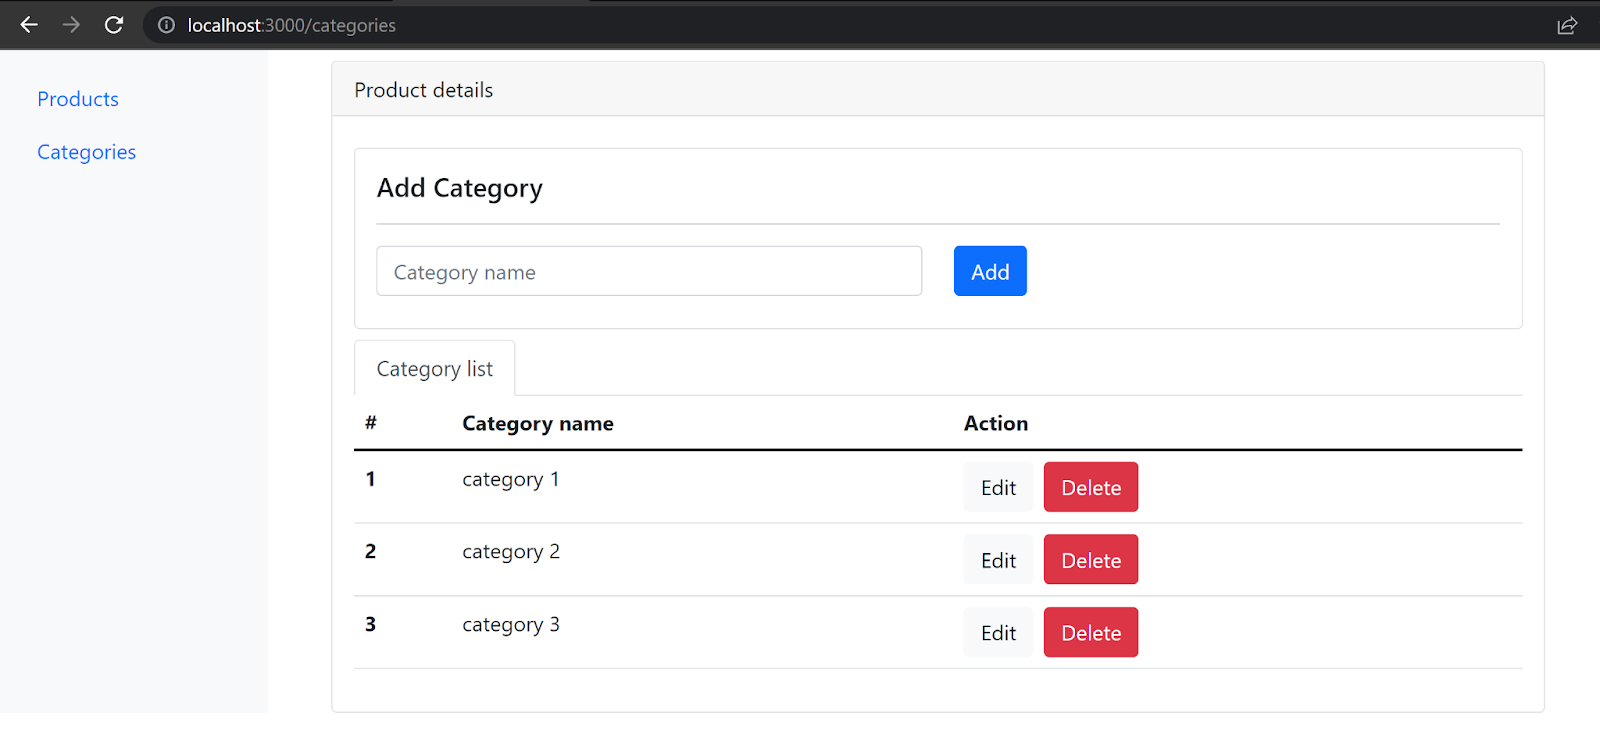
Finally we run the yarn dev command and open a browser and enter the address http://localhost:3000. We should be able to see it like this:
You can download the code from here: github.com/jjosequevedo/product-categories