
Next.js is a JavaScript framework that allows you to build static, server-side rendering web applications using React.
To get started we need to have Node.js installed, if you don’t already have it:
You can install it from here: NodeJs
Next, we must install Nextjs on the local by executing the following command:
npm install next react react-dom
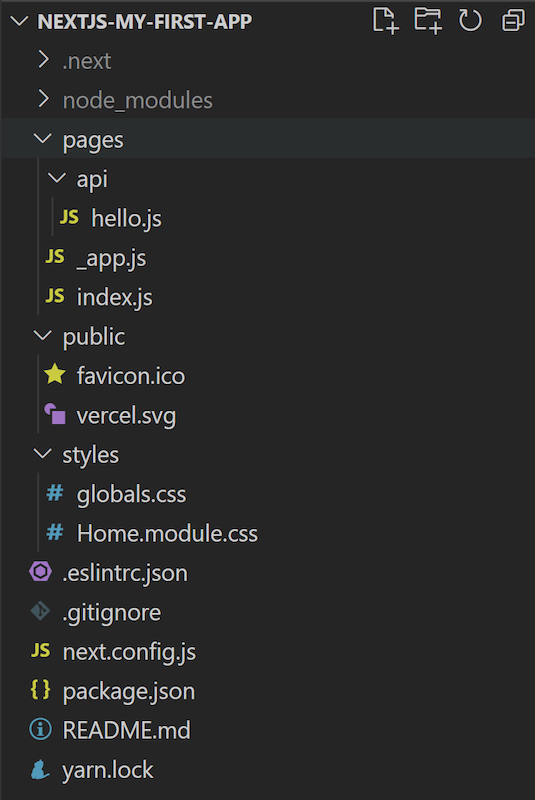
Once finished, we will have the following basic structure of a site created with NextJs:
- pages: All the paths of your Next.js application will be placed in this directory. For each path, you will have a separate file, which is named after the path.
- pages/api: This folder contains all the code we need to access the APIs of our application.
- public: It is the directory to add the images, svg, icons, among others in the project.
- styles: The styles directory is for adding to the scss or css files.
Then, you can use your favorite text editor, in this case it was used Visual Studio Code.
Now let’s create the first application, first you must open a console and execute the following command:
npx create-next-app nextjs-my-first-app
Then, we execute:
cd nextjs-my-first-app
And we run one of the following commands:
npm run dev
or
npx next dev
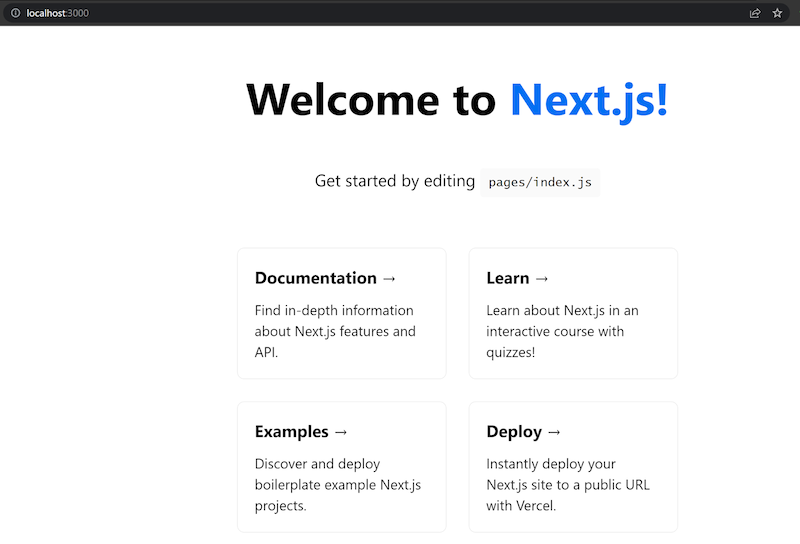
We can now access the following route from the browser: http://localhost:3000
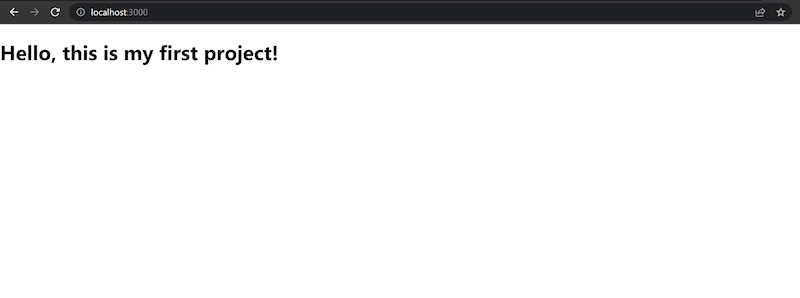
To edit our first page, we have to open our text editor and then open index.js which is located inside the pages folder in the root directory of our project. We can modify the existing code and add:
<h3>Hello, this is my first project!</h3>
Automatically our browser will refresh and display the added text:
To create the first ReactJs component we can create a folder named components and then create a javascript file sample.js with the following code:
“`javascript
import React from ‘react’;
class Sample extends React.Component {
render = () => {
return (
My first component!
);
}
}
export default Sample;
Then, we update the code in our script `index.js`:

```javascript
import React from 'react';
import Sample from '../components/sample';

class Home extends React.Component {
  render = () => {
    return (
      <div>
        <h3>Hello, this is my first project!</h3>
        <Sample />
      </div>
    )
  }
}

export default Home;
And we can see our first component in the browser:

A ReactJs component can also be a page in NextJs, to do this we must create it exactly as we did before but this time it must be inside the folder pages. For example, we create the page about:
import React from 'react';

  class About extends React.Component {
    render = () => {
      return (
        <h1>About!</h1>
      );
    }
  }

export default About;
Then, we go to our browser and type in the address bar /about. There we will see our first page:
